It's been a very fun couple of weeks doing some little crafting projects. The kind that you can sit down and finish in about an hour!

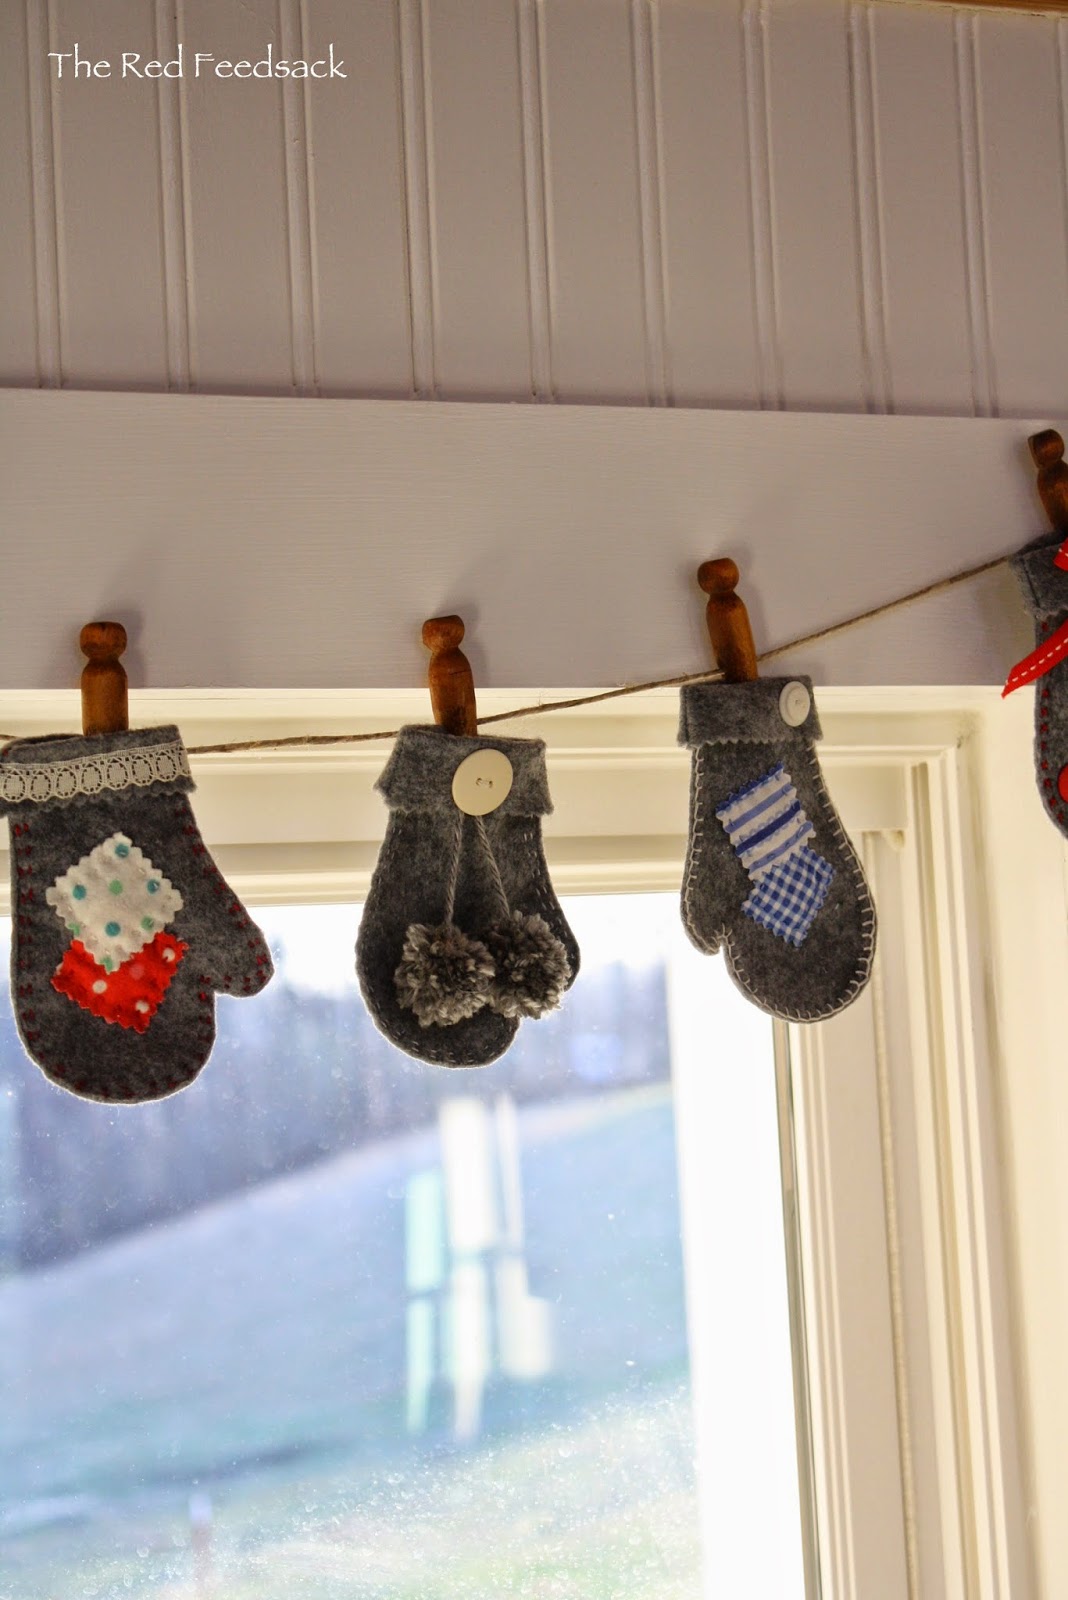
I love this little mitten garland that I made to hang in my kitchen window. It adds a little bit of cheery charm to the gloomy days of winter.

I also knew it would be a really fun project for a craft night with my little grand-girls. So I gathered all kinds of ribbon, lace, buttons, fabric scraps, yarn and felt and planned a craft night!

I've been trying to do some crafts that even Rosy, the three year old, can do without getting too frustrated. She did amazing with this!

I sewed the little mitten together and let her sew on the little red patch and the button. She did so well and it just came out darling.

Jillian, who is six, is getting very good with a needle and thread! She had no problem sewing the outline stitch and the patch on her mitten. She also sewed on her buttons. She is at the age where she really sticks with a project until it is finished. I was really proud of her!

Her stitches are getting more and more consistent!

So if you are looking for a fun winter project to do with your little children or grand-children here is the little how to for you! I got my inspiration and mitten pattern from here. You could also do stockings, but I love the little mittens.

Cut out your mittens from felt. I really liked how the grey felt came out. Cut around the edges with regular scissors and across the top of the mitten with pinking shears.

Sew around the edge with your sewing machine, leaving the top of the mitten open. I didn't worry about sewing that close to the edge or that perfectly as you will trim this anyway. Then, with colored embroidery thread sew a decorative stitch around the mitten, right to the edge of your seam. (Be sure to start about an inch down the side so that when you fold your mitten "cuff" over the stitching won't interfere with that.)

Once you've sewn your decorative embroidery stitch, use very tiny sharp scissors to trim off the extra felt. Cut carefully right up to the edge of the seam.

Then you end up with a nice finished edge.

Have fun and try different stitches. Anything goes and they sure don't have to be perfect.

Add any kind of embellishment that you want. This little snowman ornament and a tiny pom pom came out very cute. (Jillian made the pom pom - she worked until she got all those little pieces of yarn trimmed to perfection!)

Buttons and fabric patches are really cute.

Use vintage clothes pens and pen the mittens to a string of yarn in the window. It is a very fun little project that costs very little and takes hardly any time!
Happy Holidays to you! We are looking forward to good food, good times and good friends next week. (Remember Baby Grant? He and his sweet Mommy and Daddy are coming to visit!!)
Have a wonderful Holiday week!